Trail Notes

Field Dispatches from the Wild

Outdoor guides, honest gear talk, community stories, and practical playbooks for getting the most out of ROAMR. Written by the team and the tribe — for anyone trying to spend more time outside.

Adventure Guide

The Colorado 14ers: A Complete Beginner’s Guide to Summit Season

Everything you need to know before stepping onto Colorado’s iconic high peaks — gear, timing, altitude, and the trails worth every step.

Christian HilbertJune 20258 min read
Read article ›

Colorado has 58 peaks that rise above 14,000 feet, and standing on top of your first one is a rite of passage. But a 14er is a serious undertaking even on the easiest routes — thin air, fast-moving weather, and long days reward preparation and punish improvisation. Here is how to set yourself up for a summit you’ll actually enjoy.

Start with the right peak

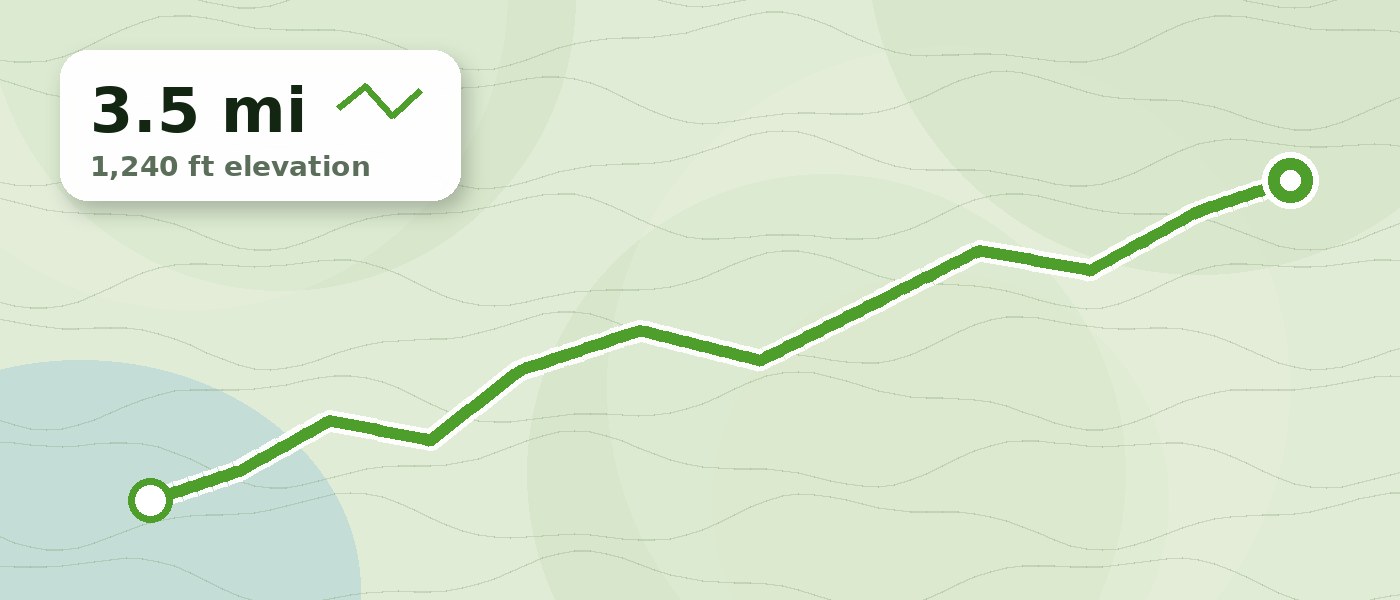
Not all 14ers are equal. For a first summit, Mount Bierstadt (about a 7-mile round trip) is widely considered the friendliest introduction, with a well-defined trail and a trailhead close enough to Denver that help is never far away. Quandary Peak near Breckenridge (roughly 6.75 miles round trip) is another popular, straightforward starter. Save the exposed Class 3 scrambles for after you have a few non-technical summits under your belt.

A hiker checking a route map before a climb

Time your season — and your day

For beginners, the window is late June through early September, after most of the snow has melted from standard routes. Just as important is your start time: afternoon thunderstorms are a near-daily feature of the Colorado high country in summer, and being above treeline when one rolls in is genuinely dangerous. The rule of thumb is to be on your way down from the summit by noon, which usually means a pre-dawn start.

Respect the altitude

Even strong hikers feel the effects above 12,000 feet. Hydrate aggressively, pace yourself, and learn the early symptoms of acute mountain sickness — headache, nausea, dizziness, and unusual fatigue. If they appear and worsen, the only reliable treatment is to descend. There is no summit worth pushing through that.

Train for the effort

A good readiness benchmark: you should be comfortable hiking 8–10 miles with 3,000+ feet of elevation gain. If a tough 6-mile hike at 10,000 feet leaves you wrecked, build more fitness before attempting a 14er. The mountain will still be there.

Pack the essentials

  • Layers for every season — it can be summer at the trailhead and winter at the summit
  • Rain shell, hat, gloves, and sun protection (the UV is intense up high)
  • More water and food than you think you need
  • Map, compass or GPS, headlamp, and a basic first-aid kit
  • Traction and trekking poles depending on conditions
Leave No Trace: The alpine tundra is fragile and slow to recover. Stay on the established trail, pack out everything — yes, even apple cores and orange peels, which take years to break down at altitude and draw wildlife. The Colorado Fourteeners Initiative maintains these routes; treat them like the gift they are.

Don’t go alone — find your people

A 14er is safer and more fun with the right partners. This is exactly what ROAMR is built for: filter by activity and skill level, find adventurers near you planning a summit, and connect with vetted local guides if you want someone experienced along for your first time above treeline.

References & further reading
  1. Colorado Fourteeners Initiative — trail stewardship and education
  2. 14ers.com — Climbing 14ers: Getting Started
  3. Colorado Mountain Club — So You Want to Hike a 14er?
  4. Leave No Trace — The 7 Principles
Gear Review

Five Kayaks Under $800 That Punch Above Their Price

You don’t need to spend a fortune to get on the water. A practical buyer’s guide to value boats — and the safety gear that matters more than the hull.

ROAMR TeamMay 20256 min read
Read article ›

The best kayak is the one that matches the water you actually paddle. Before you shop, be honest about that water: calm lakes and gentle Class I–II rivers are a completely different game from real whitewater, which demands a specialized boat, a spray skirt, and formal instruction. Most genuinely whitewater-capable boats run above $800 new — so the smart value play is a stable recreational or crossover hull, bought new on sale or lightly used.

Five boats worth demoing

  • Perception Prodigy — a stable, forgiving recreational kayak that’s a superb first boat for flatwater and slow-moving rivers.
  • Wilderness Systems Aspire — a recreational hull with a drop-down skeg that tracks well and handles light current confidently.
  • Old Town Vapor — a budget-friendly, comfortable sit-in for lakes and lazy rivers; commonly found used at very low prices.
  • Dagger Katana — a true crossover that bridges flatwater touring and gentle whitewater; often above $800 new, but a steal on the used market.
  • Pyranha Fusion — a crossover built for moving water and mild rapids; a great second boat as your skills grow.

Prices shift season to season and the used market is where the real value lives, so treat these as starting points to test-paddle rather than a fixed shopping list. Whenever possible, demo before you buy — outfitters and paddling clubs frequently host demo days.

The gear that actually keeps you safe: A boat is only as safe as the paddler in it. Before you point a kayak at any moving water, invest in a properly fitted whitewater PFD, a helmet, and (for rivers) a spray skirt — and take a class that teaches the wet exit and the T-rescue. The American Canoe Association’s standards are the gold standard for beginner instruction.

Know the hazards

Moving water hides serious risks that have nothing to do with how nice your boat is: low-head dams, undercut rocks, and strainers like fallen trees can trap a paddler. Only run water that matches your skill, your preparation, and your gear — and never paddle alone.

Looking for paddling partners or a club near you? ROAMR’s Tribes and Activities make it easy to find paddlers at your level and join a trip that fits your experience.

References & further reading
  1. American Whitewater — safety & river information
  2. American Canoe Association — Smart Start for Safe Paddling
Community Story

How Finding a Ski Crew Changed My First Winter in Colorado

I moved to Denver in October with no connections and no ski partners. Here’s how the ROAMR Tribes feature turned a solo first season into something worth returning to.

Andalo SantangeloApril 20255 min read
Read article ›

I arrived in Denver in October knowing exactly two people, neither of whom skied. I had a season pass and absolutely no one to use it with. If you’ve ever moved somewhere new as an adult, you know the particular loneliness of having a thing you love and no one to do it with.

Resort skiing alone is fine for a while — but the days I remember from that first winter are the ones I almost didn’t have. I joined a tribe called Summit Seekers, matched on skill level and the fact that we all wanted dawn-patrol laps before work. Within two weeks I had a standing Thursday crew.

A small group on a snowy mountain

From resort laps to the backcountry — the right way

Eventually the crew started talking about getting off the groomers. This is where I want to be careful, because the backcountry is not the resort. It is avalanche terrain, and it has killed experienced, fit, well-equipped people. Before any of us toured, we took an AIARE Level 1 avalanche course, and we made a few rules non-negotiable.

Our backcountry ground rules: Check the Colorado Avalanche Information Center forecast every single time. Carry — and know how to use — a beacon, shovel, and probe. Never travel alone. And if anyone in the group isn’t comfortable with the day’s conditions, we don’t go. Ego has no place in avalanche terrain.

If you’re curious but not ready to commit to a full course, AIARE and CAIC now offer a free online program called Avalanche Aware that covers the core concepts in about an hour. It’s the single best first step I can recommend.

The part that actually mattered

The skiing was great. But the real thing I got out of that winter was a group of people who texted me when it snowed. ROAMR didn’t teach me to ski — it solved the harder problem, which was finding the people to ski with safely. Three seasons later, the Thursday crew is still going.

References & further reading
  1. Colorado Avalanche Information Center (CAIC) — forecasts
  2. AIARE — avalanche education & courses
  3. Avalanche Aware — free online intro course
Using ROAMR

Your First Week on ROAMR: A Practical Playbook

A day-by-day guide to going from a fresh sign-up to your first real-world adventure with the tribe — in seven days.

ROAMR TeamJune 20254 min read
Read article ›

ROAMR works best when you treat the first week like a warm-up. Here’s the playbook we give every new member.

Day 1 — Build your profile

Tell ROAMR what you love — hiking, climbing, paddling, snow, wheels, wildlife — and set an honest skill level for each. Accurate skill levels are what make your matches actually useful, so resist the urge to round up.

Day 2 — Explore the Activities feed

Browse activities near you, filtered to your interests. Save a few that look interesting. You’re not committing to anything yet — you’re learning what’s out there.

Day 3 — Join a Tribe

Tribes are the heart of ROAMR. Find a group that matches your sport and pace and introduce yourself. Smaller, local tribes are often the friendliest place to start.

Day 4 — RSVP to your first meetup

Pick a beginner-friendly activity and commit. The hardest step is the first one; the app is designed to make showing up easy.

A trail map with a tracked route and distance stats

Day 5 — Gear up

Need something for the weekend? The Gear Marketplace lets you rent, buy, or sell within the community — a low-cost way to try a sport before you invest.

Weekend — Get outside, track, and share

Join the adventure, track your route, and share the story to your tribe. Every adventure you log makes your next set of recommendations sharper — and gives someone else the nudge to get outside too.

Pro tip: Turn on notifications for your top tribe. The best spontaneous adventures — a bluebird powder day, a last-minute permit — happen on short notice.
Using ROAMR

Getting Started in Four Steps

The whole ROAMR loop, start to finish. Click through each step.

Tell ROAMR what you love

Choose your activities and set a skill level for each — from first-timer to seasoned. This is the foundation that makes everything else relevant to you instead of generic.

Tip: You can follow multiple sports. A summer climber and winter skier gets matched for both.

Match with your people

Discover nearby adventurers, activities, and groups matched to your interests and ability. Join Tribes, build crews, and — unless you choose to — never roam alone.

Tip: Local, smaller tribes tend to be the warmest welcome for newcomers.

Plan it, then track it

RSVP to meetups, coordinate logistics, and record every adventure — route, distance, and elevation — so your history builds with you and your recommendations keep getting sharper.

Tip: Connect with a vetted local guide through ROAMR for anything new or technical.

Share the story

Post your adventure to inspire the community and pull the next person off the couch. Every adventure you share begins someone else’s — that’s the whole point.

Tip: Tag the tribe you went with so the whole crew gets the memory.